How to Make a Locksmith Website: A Step-by-Step Guide

This guide is for locksmith business owners who need a professional website without a large budget or IT team. It assumes comfort with basic online tools. We will cover every step to build your site. You will learn how to determine the structure, create a trustworthy design, and set up your domain and hosting. We will also explore site tests for urgent customer requests and review the main tools to help you build and launch your online presence.
Step 1: Plan Your Site Structure and Gather Content
Before you build anything, define what your website must accomplish. For a locksmith, this often means providing immediate help for a customer in distress. Your site plan should focus on speed and clarity, to give customers the information they need to choose you over a competitor.
Map Your Website Pages
Start with a paper sketch of your site's navigation. Most locksmith websites need a Homepage, Services, Service Area, About, and Contact page. We recommend you limit your main navigation menu to seven items or fewer. Too many options can overwhelm a visitor who needs immediate help.
Under your "Services" page, list subpages for specific offerings like "Car Lockouts," "Residential Rekeying," or "Commercial Security." This organized structure helps customers find exactly what they need. It also improves your site's visibility in search engine results for those specific, high-intent services.
Gather Your Business Content
Create a central folder with a service like Google Drive or Dropbox to store all website materials. This simple step saves significant time later in the process. Collect all necessary files and information in one place before you start the actual build.
- Logo and Brand Colors: Your business logo and official brand color codes for a consistent look.
- Photography: High-quality photos of your team, service vans, and equipment. Confirm you have the rights to use all images.
- Written Content: Descriptions of your services, your company story, and answers to frequently asked questions.
- Credentials: Your business license number and any certifications. Displaying this information builds immediate trust with potential customers.
A common mistake is to bury your service area and hours deep within the site. This frustrates potential customers during an emergency and causes them to leave for a competitor. Instead, display a clear service map and your operating hours, and feature any 24/7 emergency availability on your homepage.
Step 2: Choose Your Design Approach
Your website’s design can make or break a customer’s trust in seconds. A professional look signals reliability, which is vital when a person is locked out and needs urgent help. You have three main paths to achieve a trustworthy design for your locksmith business.
Select Your Design Method
For most locksmiths, a pre-built template is the best choice. It balances cost and speed without needing a developer. You can find industry-specific options on marketplaces like ThemeForest or TemplateMonster. Look for layouts with a prominent spot for your phone number and emergency service button.
A common mistake is picking a template with heavy animations. This slows your site and frustrates users on mobile devices. Instead, choose a clean design that loads fast. A customer in a lockout situation values speed over flashy graphics. Your goal is to connect them to help immediately.
If you have some coding knowledge, a UI kit offers more flexibility. Options from Bootstrap or Tailwind UI provide pre-made components like navigation bars and forms. You assemble these parts to build unique pages, giving you more control than a fixed template allows.
A full custom design is the third option. This involves hiring a designer to create mockups in a tool like Figma before development. This path offers a unique result but costs thousands of dollars and adds weeks to your timeline, making it best for larger, established companies.
Establish a Style Guide
Before you customize your design, create a style guide. This document ensures your brand looks consistent and professional across every page. Reference it for every page you build to maintain a high-quality appearance that builds customer confidence.
- Colors: Pick one primary brand color, a secondary accent, and a neutral gray or off-white. Document the exact hex codes for each.
- Typography: Choose two fonts at most. A clean sans-serif from a source like Google Fonts works well for body text. Pair it with a bolder font for headings.
- Buttons: Define styles for primary and secondary buttons. Your primary button should be for your main call to action, like “Request Emergency Service.”
Step 3: Set Up Your Domain and Hosting
Your domain is your website's address, and hosting is the digital space it occupies. Both choices impact how customers find and trust your business. A reliable setup ensures you are always available for urgent calls, day or night.
Choose Your Domain Name
Select a domain that is short and memorable. Include your business name and city, like springfieldlocksmith.com. Prioritize a .com extension to appear professional. You can register your name through providers such as Namecheap or Cloudflare Registrar.
A common mistake is to allow your domain to expire. This takes your site offline and can send emergency calls to a competitor. Enable auto-renewal immediately after purchase to prevent this. Also, add WHOIS privacy to protect your personal information from public view.
Select Your Website Hosting
For most locksmiths, managed hosting from a provider like Kinsta or WP Engine is the best choice. They handle security and backups, which lets you focus on your business. This is important when you cannot afford downtime during late-night lockout calls.
Cheaper shared hosting from services like Bluehost is an alternative, but performance can suffer when multiple customers visit at once. Your site must load fast for a person in a stressful lockout, so the extra cost for managed hosting is often justified.
- SSL Certificate: Your host must provide an SSL certificate. Browsers warn users about insecure sites, which drives away customers who need to trust you with their security.
- Automatic Backups: Ensure your host provides daily backups. If your site breaks, you need a quick way to restore it and get back to business without delay.
- 24/7 Support: Problems do not wait for business hours. Round-the-clock support is necessary when your site goes down at 2 AM and you lose emergency calls.
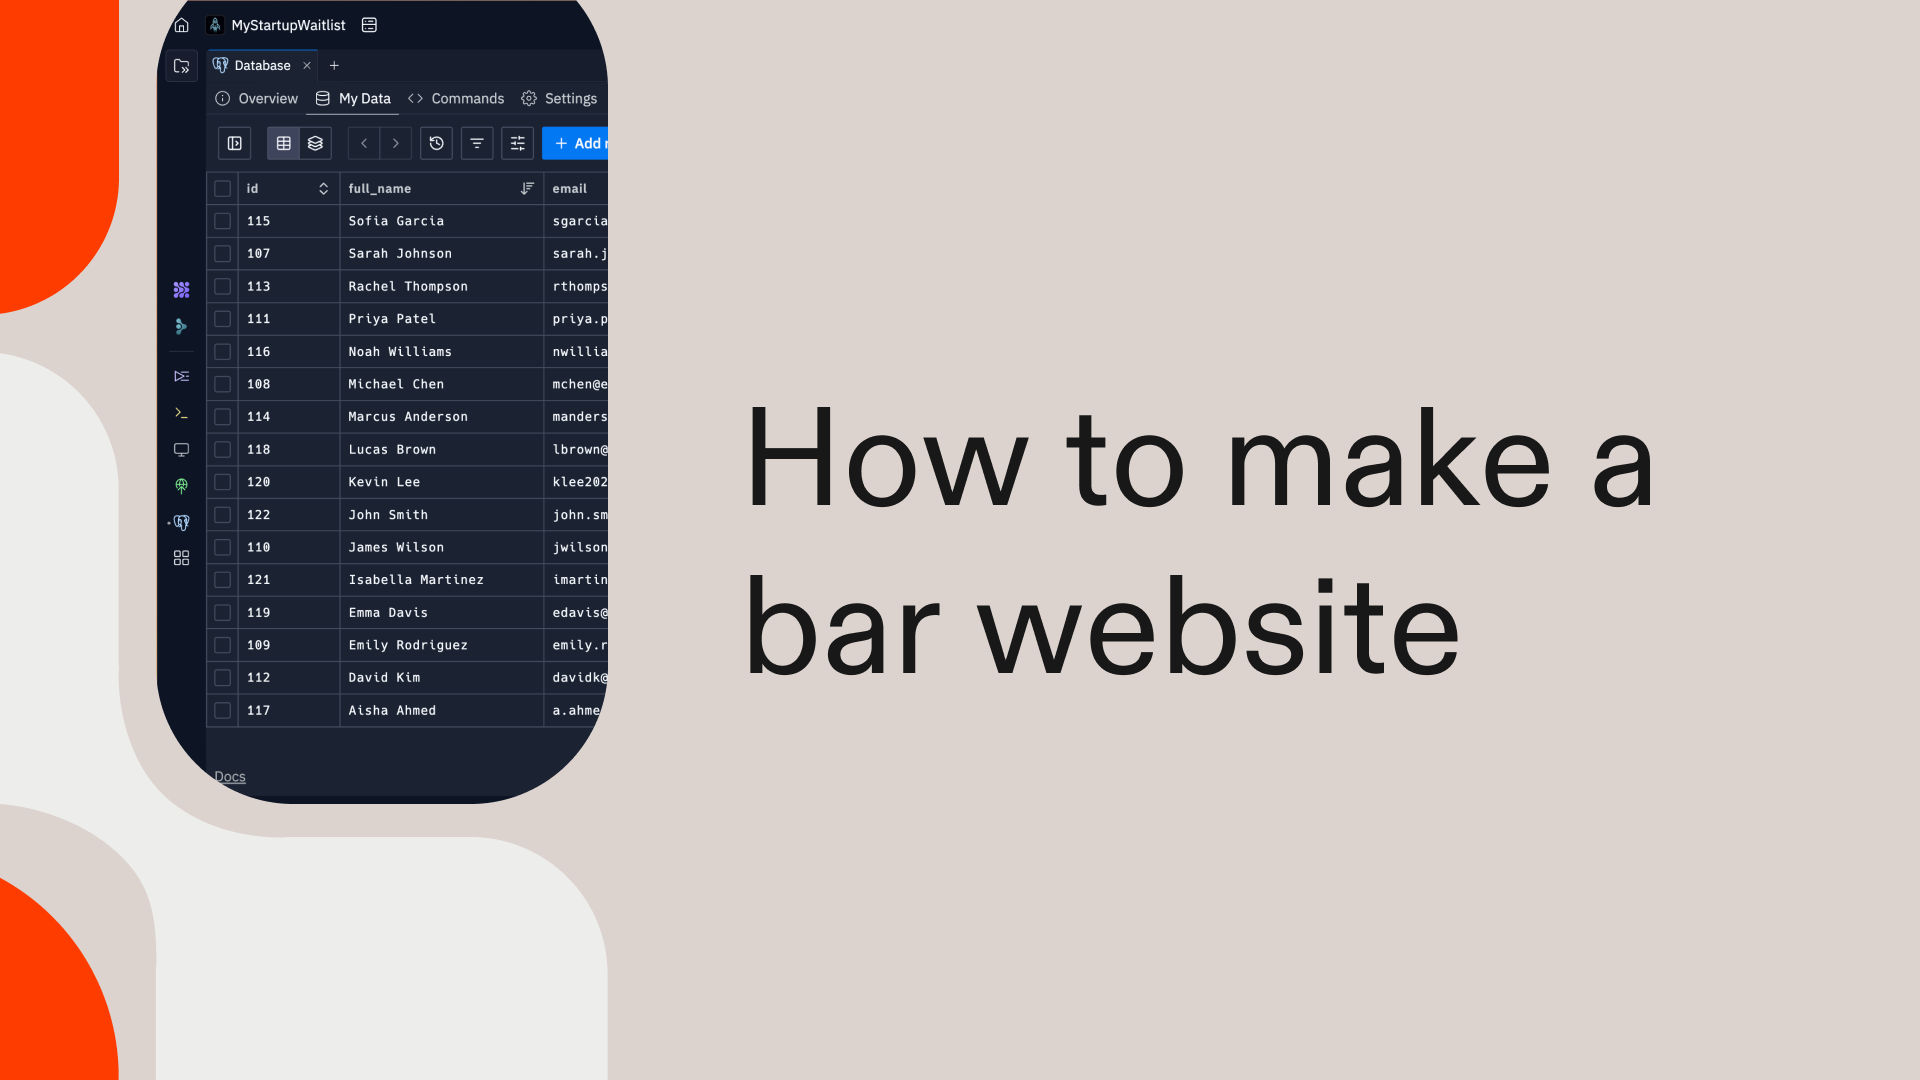
Step 4: Build Your Site With Replit
Instead of a template, you can use an AI-powered tool to build your site. Replit is a development environment that creates a functional website from your plain-language instructions. This approach gives you more custom control than a drag-and-drop builder without you needing to write code.
Direct the Build With AI
You direct the process by describing what you need. For example, tell the Replit Agent to "build a locksmith website with an emergency request form, a service area map, and pages for residential and auto services." The AI then generates the code, tests for bugs, and deploys the site.
This method allows you to focus on your business needs, not technical details. You can refine the result with more feedback, like "make the emergency call button red and place it in the header." The agent interprets your request and updates the site automatically, which provides a custom result.
- Complete Site Generation: Describe your pages, forms, and navigation, and the AI builds the entire site.
- Automatic Backend: Replit sets up secure forms for service requests, so you do not need to handle server configuration.
- Instant Deployment: Your website goes live on a Replit subdomain as soon as it is built. You can connect a custom domain later.
A common mistake is to use a basic contact form for emergency requests. This causes delays, as you may not see the email immediately. Instead, instruct Replit to build a form that sends an instant SMS alert to your phone, so you never miss an urgent lockout call.
Step 5: Connect Your Website to Key Services
A website rarely stands alone. It connects to services that handle specific functions better than you could build yourself. Set up accounts for these integrations before you need them, then embed or connect them to your site to improve your operations and customer service.
Streamline Bookings and Service Requests
For non-emergency jobs like security audits, an online scheduler saves time. We recommend a tool like Calendly or Acuity Scheduling. They sync with your calendar to show real-time availability and handle appointment reminders, which reduces no-shows and administrative work.
Your site needs a reliable way to capture service requests. Form builders such as Jotform or Tally offer simple drag-and-drop editors. Embed the form directly on your contact page so customers can request help without leaving your site, which increases conversion rates.
A common mistake is to use one generic form for all inquiries. This mixes urgent lockout calls with routine questions, causing delays for customers in distress and costing you business. Instead, create a separate, high-priority form for emergencies that sends an instant SMS alert to your phone.
Measure Your Website's Performance
Install analytics on day one to make informed business decisions. Google Analytics 4 is a free, comprehensive option. It shows you how customers find your site, which services are most popular, and where visitors drop off, so you can optimize your marketing efforts.
- Email Marketing: Use a service like Mailchimp or Brevo to send promotions or security tips to past customers.
- Payments: If you bill online, integrate a processor like Stripe or Square for secure and professional transactions.
Step 6: Build and Populate Your Core Pages
Work through your site one page at a time, and start with the highest-traffic pages. Each page must have a clear purpose and guide the visitor toward a single action, like a phone call.
Your Homepage
Your homepage is a triage station, not a brochure. A person locked out of their car decides in seconds if you can help. State what you do and where, with a large "Call Now" button.
Immediately build credibility below your headline. Add trust badges from locksmith associations or short testimonials from satisfied customers. This shows visitors you are a reliable professional.
A common mistake is to bury contact information. This frustrates a person in an emergency and sends them to a competitor. Instead, place your phone number prominently in the header on every page.
Detail Your Services and Contact Information
Create separate pages for each service, such as "Residential Rekeying" or "24/7 Auto Lockouts." This structure helps customers find the exact help they need and improves your site's rank in search results.
Your contact page must make it simple to reach you. Include a phone number that is clickable on mobile devices, your hours, and a map of your service area. State your response time to set clear expectations.
- About Page: Tell your company story and show photos of your team and service vans. Customers will feel like they work with real people, not a faceless company.
- Legal Pages: Use a generator like Termly or Iubenda for your Privacy Policy. This is necessary if your site has a contact form that collects personal data.
Step 7: Test Across Devices and Get Real User Feedback
Tests reveal problems that are invisible during development. Budget time for this step before you launch. A broken contact form or slow load time damages the trust you need from a customer who requires urgent help and can cost you the job.
Check Your Site on All Devices
Your site must work flawlessly on the devices your customers use. A person locked out of their car will use their phone, so test on both iOS and Android. Verify that text is readable, buttons are easy to tap, and your phone number is clickable.
Browser developer tools can simulate different devices. For more thorough checks, services like BrowserStack or LambdaTest offer options to test on real hardware remotely. Always test on at least one physical phone to check real-world performance and touch interactions.
Confirm Every Function Works
A common mistake is to test your site only on a fast office Wi-Fi connection. This causes you to miss how slow the site is for a customer in a parking garage with poor cell service. Instead, use your browser’s developer tools to simulate a slow 3G network.
- Forms and Links: Click every link and submit every form. Confirm your emergency request form sends an immediate alert to your phone.
- Interactive Elements: Check that your service area map loads correctly and any booking widgets function as expected.
- Performance: Run your URL through a tool like Google PageSpeed Insights to find and fix issues that slow your site down.
Get Feedback From Real People
Automated tools cannot spot human confusion. Ask three to five people who are unfamiliar with your site to complete specific tasks. Watch them without help and note where they hesitate or get stuck. Their struggles point to unclear navigation or buried information.
Give them a scenario, such as, "You are locked out of your house at night. Find the emergency phone number." Their ability to quickly find help confirms your design works for a customer in distress. This feedback is valuable to fix issues before you launch.
Step 8: Launch Your Site and Establish Ongoing Maintenance
Launching your site is not the finish line. A proper launch maximizes visibility, and a maintenance plan keeps your site effective. This ensures you are always ready for the next emergency service call, day or night.
Final Pre-Launch Checklist
Before you go live, perform one final walkthrough to prevent simple errors that cost you business. A broken link or incorrect phone number can send a customer in distress straight to your competition. Your goal is a flawless first impression.
- Verify Contact Details: Confirm your phone number is correct and clickable. Test your emergency request form to ensure it sends an immediate alert to your phone.
- Set Meta Information: Write a unique meta title and description for each page to help your site rank for searches like "24/hour locksmith in Springfield."
- Confirm Analytics: Make sure your analytics code from a service like Google Analytics 4 is installed to track which services are most popular.
Announce Your New Website
A common mistake is to launch your site and assume it works. This causes you to miss downtime during a storm, costing you emergency calls. Instead, use an uptime monitoring service like UptimeRobot to get an immediate alert if your site goes down.
Update your website URL on your Google Business Profile first, as this is how most local customers will find you. Announce the new site to your email list and on social media. Also update your business cards and service van decals.
Schedule Ongoing Maintenance
A website requires regular attention. Submit your sitemap file to Google Search Console to help Google find and index your new pages faster. This helps you appear in search results sooner for urgent jobs.
Set calendar reminders for maintenance. Monthly, check for broken links with a tool like Dead Link Checker. Quarterly, review all pages for outdated service information or pricing to keep your site accurate.
Want a shortcut?
Replit offers a different path to build your website. Instead of templates, you direct an AI agent with plain-language commands. You can tell it to "create a locksmith site with an emergency form that sends SMS alerts," and the AI generates the code, tests for bugs, and deploys the site for you. This process automates the technical work.
This method provides more custom control than a template builder without the need to code. You can refine the result with simple feedback, like "make the phone number larger." The AI interprets your request and updates the site. This gives you a custom-built website that meets your exact business needs. Sign up on Replit for free to start your project.
Create and deploy websites, automations, internal tools, data pipelines and more in any programming language without setup, downloads or extra tools. All in a single cloud workspace with AI built in.
Create and deploy websites, automations, internal tools, data pipelines and more in any programming language without setup, downloads or extra tools. All in a single cloud workspace with AI built in.