How to Make an Android App: A Beginner's Guide | Replit
This guide is for entrepreneurs with a great app idea but little development experience. It assumes comfort with digital tools, not professional coding skills. We walk you through the process from concept to launch. For large budgets and complex needs, a development agency might be a better fit.
We cover all the necessary steps. This includes how to structure your app's features, design the user interface, prepare for the Google Play Store, and test across different Android devices. We also review key tools to make your vision a reality.
Step 1: Plan Your App Structure and Gather Content
Before you write any code, define what your app will do and who it serves. This foundational step ensures your final product is focused and meets user needs from the start.
Map Your App's Core Features
First, identify your target audience. Then, list the top three actions you want them to perform. For a restaurant app, this might be placing an order or making a reservation. These actions become your priority features and guide the entire design process.
Sketch out the app's structure on paper. Think in terms of screens and user flow. Most apps need a main screen, a user profile, settings, and screens for core functions. Limit your main navigation to five items to avoid a cluttered interface on small screens.
A common mistake is designing a confusing user flow. This frustrates users and leads them to abandon the app if they cannot complete a key task quickly. Instead, map the simplest path for each primary action to ensure a smooth user experience.
Organize Your Assets
Create a central folder using a service like Google Drive or Dropbox to store all your content. Organize subfolders by feature or asset type. This preparation saves significant time and keeps your project on track during development.
- Logo and Brand Assets: Your app icon, logo files, and official brand color codes to maintain a consistent visual identity.
- Visuals: High-resolution images and videos for your app's interface and store listing. Confirm you have the rights to use all visual content.
- Written Content: All text for the app, including feature descriptions, user guides, FAQs, and your privacy policy.
- Credentials: Logins for third-party services you plan to integrate, such as payment gateways or social media accounts.
Step 2: Choose Your Design Approach
Your app's design builds immediate trust and guides users. You have three main options depending on your budget and timeline. For most first-time app creators, a pre-built template offers the best balance of speed, cost, and quality. This approach lets you focus on your app's core functions.
Use Pre-Built Templates
Marketplaces like ThemeForest and TemplateMonster offer templates with pre-made screens for common app functions. A common mistake is to select a template with heavy animations. This slows performance on many Android devices and drains batteries. Instead, prioritize clean, fast templates that support your core features.
Assemble with UI Kits
For more customization, UI kits from sources like Tailwind UI or Bootstrap themes provide pre-designed components. You can assemble navigation bars, buttons, and forms to build unique screens. This approach requires some technical comfort but offers greater design flexibility than a rigid template.
Commission a Custom Design
With a larger budget, you can hire a designer to create mockups in a tool like Figma. This ensures the final product matches your vision but adds significant time and cost. This path is best for apps with complex features or unique branding needs, like a specialized productivity tool.
Establish a Style Guide
No matter your approach, a style guide ensures consistency and a professional look. Document your design rules to make development faster and your user experience more predictable. This guide should include the following elements:
- Colors: A primary brand color, a secondary accent, and a neutral, plus colors for user feedback messages.
- Typography: Two fonts maximum from a library like Google Fonts—one for body text and one for headings.
- Spacing: A consistent system for margins and padding to create a clean, structured layout.
- Button Styles: Defined styles for primary, secondary, and text link actions.
Step 3: Set Up Your Hosting and Domain
Your app needs a home on the internet. This is where you will host your privacy policy and support pages, which the Google Play Store requires. It also powers any backend services your app needs to function, like user accounts or data storage.
Choose Your Domain
Your domain is your app's web address. Select a name that is short, memorable, and reflects your brand. Prioritize a .com extension for credibility. Options for registration include Namecheap, Google Domains, and Cloudflare Registrar. Avoid hyphens or numbers that confuse users.
Expect to pay $10-20 annually for a standard domain. You should enable auto-renewal immediately to prevent losing your domain by accident. Also, activate WHOIS privacy. This service, often free, hides your personal contact information from public view to reduce spam.
Select Your Hosting
Hosting provides the server space for your website and backend services. For a simple support site, platform-bundled hosting from builders like Squarespace or Wix is a great choice. They handle all technical maintenance, so you can focus on your content.
A common mistake is to use cheap shared hosting for an app's backend. This causes slow API responses and crashes under user load, which makes your app feel broken. Instead, use a scalable cloud host like Vercel or Render if your app requires a custom backend.
- An SSL certificate to secure your site. Browsers distrust sites without one, and most hosts provide it for free.
- Automatic daily backups to protect your data from accidental loss or server failure.
- A 99.9% uptime guarantee to ensure your site and services remain reliable for your users.
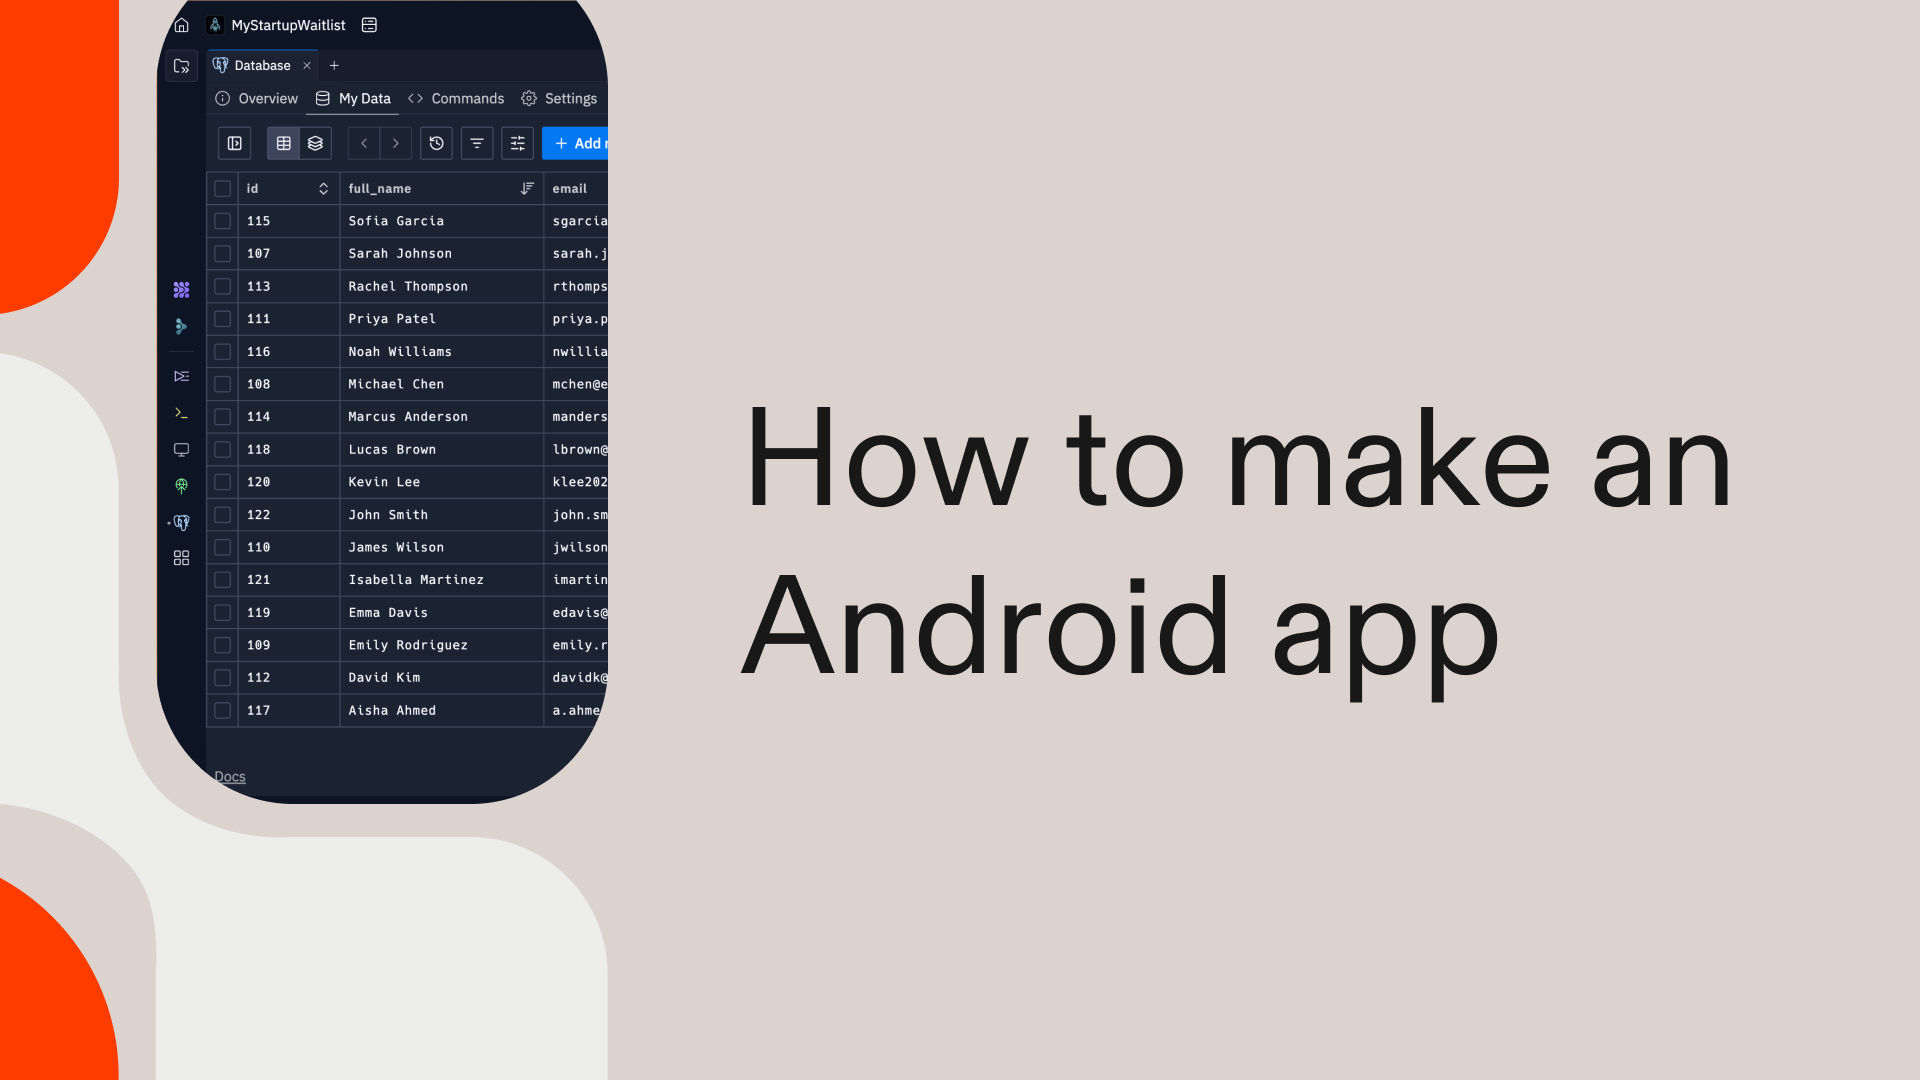
Step 4: Build Your App’s Backend With AI
Your app needs a backend for user accounts and data storage, plus a website for support pages. An AI-powered platform like Replit can build these components for you. It uses an agent that understands plain-language instructions to generate functional code, turning your ideas into reality.
Unlike visual builders with rigid templates, this approach offers greater flexibility. You direct the AI agent at a high level and describe the features you need. The agent then writes, tests, and even debugs the code before you review the final result.
Direct Your AI Builder
A common mistake is to give the AI vague prompts like "make an app backend." This causes mismatched features and a buggy user experience that frustrates your users. Instead, provide specific instructions that clearly outline what your Android app needs to function correctly and reliably.
For instance, instruct the agent to "create a user database with secure login, password reset, and profile fields for username and email." This level of detail ensures the AI builds precisely what you need, which saves you from a frustrating cycle of revisions and errors down the line.
Key Steps and Features
To start, create a Replit account and describe your project. The agent will generate your site, handle hosting, and deploy it to a live URL. You can then refine the output with more feedback. This iterative process lets you shape the final product without writing code yourself.
- Automatic Backend: Replit configures user accounts, databases, and API connections based on your prompts.
- Built-in Integrations: Connect services like Stripe for payments without manual setup.
- Design Imports: If you have mockups from a tool like Figma, the agent can implement them.
This method allows you to build a robust backend and professional support site that integrates with your Android app. It handles the technical complexity, so you can focus on creating a great user experience.
Step 5: Integrate Key Third-Party Services
Your app rarely works in isolation. It connects to services that handle specific functions. Set up accounts for these integrations early, as they provide the engine for features like payments, analytics, and user feedback, which are managed by your backend.
Collect User Data and Feedback
To gather user input through surveys or contact forms, use a dedicated service. These tools manage data collection and can route submissions to your email or a spreadsheet. This approach avoids the need to build a complex form system from scratch and lets you focus on your app.
- Forms: Options like Tally or Jotform offer powerful builders that connect to your backend.
- Email Lists: Use services such as Mailchimp or ConvertKit to manage subscriptions from a signup field in your app.
Enable Core App Functions
For features like payments or to understand user behavior, integrate specialized platforms. Their Software Development Kits (SDKs) connect to your app or backend, providing secure functionality that meets industry standards like PCI compliance for payments.
- Payments: Platforms like Stripe and PayPal offer robust solutions to process transactions within your app.
- Analytics: Install Google Analytics to understand how users interact with your app, which features they use most, and where they drop off.
A common mistake is embedding secret API keys directly in the app's code. This exposes your credentials to security risks if the app is decompiled. Instead, store keys on your secure backend and have the app request data from your server to protect your integrations.
For direct user support, you can add in-app chat. Services like Crisp or Tidio provide SDKs to embed a chat widget. Only add this feature if you can respond quickly, as an ignored chat request creates a poor user experience.
Step 6: Build and Populate Your Support Pages
Your app needs a website to meet Google Play Store requirements and build user trust. This site serves as a central hub for support, legal information, and marketing. Focus on a few key pages that serve a clear purpose for your users and for app store compliance.
Key Pages for Your App's Website
Work through these pages systematically, starting with the most important ones. Each page needs a clear purpose and a single primary action you want a visitor to take. For most apps, a simple one-page site with dedicated sections for the following is enough.
- Homepage: Treat this as a direct path to your app. Use a clear headline that explains what your app does and a prominent button that links to your Google Play Store listing. You can also add social proof, like testimonial snippets, which builds credibility with new visitors.
- Support: Make it easy for users to get help. Include a contact form from a service like Tally or provide a clickable email address. To manage user expectations, clearly state your typical response time, for example, "We respond within one business day."
- Legal Pages: A Privacy Policy is mandatory for the Google Play Store if your app collects any user data. Generate a policy using a tool like Termly or Iubenda and link it in your footer. This transparency is vital for compliance and user trust.
A common mistake is to launch with a support site full of placeholder text. This signals to users that your app is unprofessional or abandoned, which erodes trust and can lead to negative reviews. Instead, ensure all content is complete and all links work before you submit your app.
Step 7: Test Across Devices and Get Real User Feedback
Testing reveals problems invisible during development. Budget time for this step because a rushed launch with broken features damages credibility you cannot easily recover. This process ensures your app and its support site are reliable and professional from day one.
Verify Functionality on Key Devices
Your app and its support site must work flawlessly across different devices. Test on both Android and iOS phones. Check an older model too, as not everyone has the latest hardware. This practice ensures a consistent experience for your entire user base.
Verify that text is readable without zooming and that buttons are large enough to tap. Ensure all forms are completable. Developer tools can simulate devices, but you should test on at least one real phone. Emulators miss touch interactions and real-world performance issues.
For broader coverage, services like BrowserStack or LambdaTest let you test on many real devices remotely. This helps you find bugs specific to certain Android versions or manufacturers, a common challenge in the fragmented Android ecosystem.
Gather Direct User Feedback
Automated tools miss what actual humans catch. Find three to five people unfamiliar with your app. Give them specific tasks, such as to sign up for an account or find the contact page. Watch them complete the tasks without help to see where they struggle.
A common mistake is to test only on your own high-end phone. This causes you to miss performance lags and crashes that occur on older, more common Android devices. Instead, test on a budget-friendly or older model to ensure your app is responsive for all users.
Finally, check your support site’s performance with a tool like Google PageSpeed Insights to ensure it loads quickly. Run an audit with an accessibility checker like WAVE to confirm your site is usable by people with disabilities, a key part of reaching a wide audience.
Step 8: Launch Your App and Establish Ongoing Maintenance
A successful launch maximizes your app’s visibility. However, the work does not stop there. A solid maintenance plan ensures your app and its support site remain effective and trustworthy for your users long after the initial release. This keeps your audience engaged and protects your reputation.
Finalize Your Pre-Launch Checklist
Before you announce your app to the world, perform one final review of all its components. This last check confirms that every part of the user experience, from the app itself to its support pages, is complete and professional. It prevents simple errors from undermining your launch.
- Confirm your support site has no placeholder text and all links to the Google Play Store work correctly.
- Verify your analytics code is installed. This allows you to track user engagement from day one with a tool like Google Analytics.
- Ensure your Privacy Policy page is live and linked within your app and its store listing.
Announce Your Launch and Monitor Performance
Coordinate your launch announcement across all your channels. Send an email to your subscribers and post on social media with a direct link to your app’s store page. If you have a physical business, update your Google Business Profile with your new support site URL.
A common mistake is to treat the launch as the finish line. This leads to outdated support information and unaddressed bugs, which results in negative Play Store reviews. Instead, schedule regular maintenance checks to keep your app and its website reliable and current for users.
To ensure your backend and support site are always available, use an uptime monitoring service. Options like UptimeRobot or Better Uptime will alert you if your services go down. This helps you fix issues before they affect a large number of app users.
Schedule Regular Maintenance
Your app and website will degrade without active attention. Create a schedule to review content, check for technical problems, and plan improvements. This proactive approach maintains a high-quality experience and shows users that your project is actively supported, which builds long-term trust.
- Monthly: Review analytics to understand user behavior and check your support site for broken links.
- Quarterly: Read through all support pages to find and update outdated information. Review security by updating passwords for any integrated services.
- Annually: Re-evaluate your app’s design and user flow. Confirm your domain auto-renewal is active.
Want a shortcut?
For a faster path, a platform like Replit can build your app’s backend and support site. Its AI agent interprets plain-language instructions to generate code, set up databases, and handle deployment automatically. This approach offers more flexibility than rigid templates, as you direct the build at a high level.
You describe features like user accounts or payment integrations, and the agent writes, tests, and debugs the code. This process delivers a functional product you can refine with simple feedback and manages the technical complexity so you can focus on your app. Sign up on Replit for free to start.
Create and deploy websites, automations, internal tools, data pipelines and more in any programming language without setup, downloads or extra tools. All in a single cloud workspace with AI built in.
Create and deploy websites, automations, internal tools, data pipelines and more in any programming language without setup, downloads or extra tools. All in a single cloud workspace with AI built in.